Think about the last time you uploaded an image to your website. Chances are you downloaded it from a stock photography site, uploaded it to the backend of your site, and then inserted it to the page.
This makes a shining example of image optimization, right? Not quite.
You’ve added a giant bowling ball weight to your site that’s slowing down the page speed. And, search engines can’t read your images without alt text.
Let’s change that.
Over 20% of all U.S. web searches happen on Google Images, according to 2018 data from Jumpshot.
SEO amateurs and pros alike know that optimizing images for your website is notoriously worth the time spent.
Dan Morgan at WebSpection got one of his photos to rank #1 in Google Images for “best person in Cardiff” in less than four days by optimizing his image.
And, Robbie Richards generated 150,732 visits by adding image alt tags, compressing images, and a few other SEO tricks.
Without proper image optimization, you’re wasting a valuable SEO asset.
It’s like the search engines are giving away Oreos and milk for free. But, you only take the Oreo. When in reality, the Oreo is way better dunked in milk.
Image optimization creates many advantages such as better user experience, faster page load times, and additional ranking opportunities. And, it’s becoming an increasingly more important role.
As Matt Southern pointed out, Gary Illyes’ statement on image search in a recent Reddit chat:
“We simply know that media search is way too ignored for what it’s capable doing for publishers so we’re throwing more engineers at it as well as more outreach.”
But which factors are most important to ensure your images are findable and don’t slow down your site?
Here are 11 important image optimization tips you need to know.
1. Choose the Right Format
Decoding all the various image format can feel like your first time ordering at Taco Bell. But, before you can start adding images to your site, you want to make sure you’ve chosen the best file type.
While there are many image formats to choose from, the PNG and JPEG are the most common for the web.
- PNG: Produces better quality images, but comes with a larger file size.
- JPEG: You may lose image quality, but you can adjust the quality level to find a good balance.
For me, PNG is the unsung hero of image formatting. Typically, I only use JPEGs for bigger, more visual images taken by a true photographer. But, for my daily use, PNG is the way to go.
2. Compress Your Images
Yep, hell hath no fury like a bloated web page after uploading an image that’s not compressed.
Search engines will look at your web page like you might look at a big vat of Crisco: You can’t seriously be considering putting that on you your website, right?
According to HTTP Archive, images make up on average 21% of a total webpage’s weight.
That’s why I highly recommend compressing your images before uploading to your site. You can do this in Photoshop or you can use a tool like TinyPNG. TingPNG also has a WordPress plugin you can use too.
However, I prefer WP Smush as my WordPress plugin. It reduces the image file size without removing the quality. Whatever plugin you use, make sure to find one that compresses the images externally on their servers. It reduces the load on your own site.
Increasingly.com improved website speed by 33% / 2 seconds by compressing images.
I mean, there’s just something sexy about faster page speed when after you compress your images.
If you’re unsure how your images are affecting your page speed, I recommend using Google’s PageSpeed Insights tool.
3. Create Unique Images
You want your photos to pop on your site. If you fill your website with stock imagery, you’ll look unoriginal – like thousands of other sites that don’t stand out.
Too many websites are cluttered with the same generic stock photos.
Think about a corporate website, a consulting firm, a business that prides itself on customer service. All these websites use virtually the same looking stock image of a businessman smiling.
I’m sure you’ve seen one that looks like this:
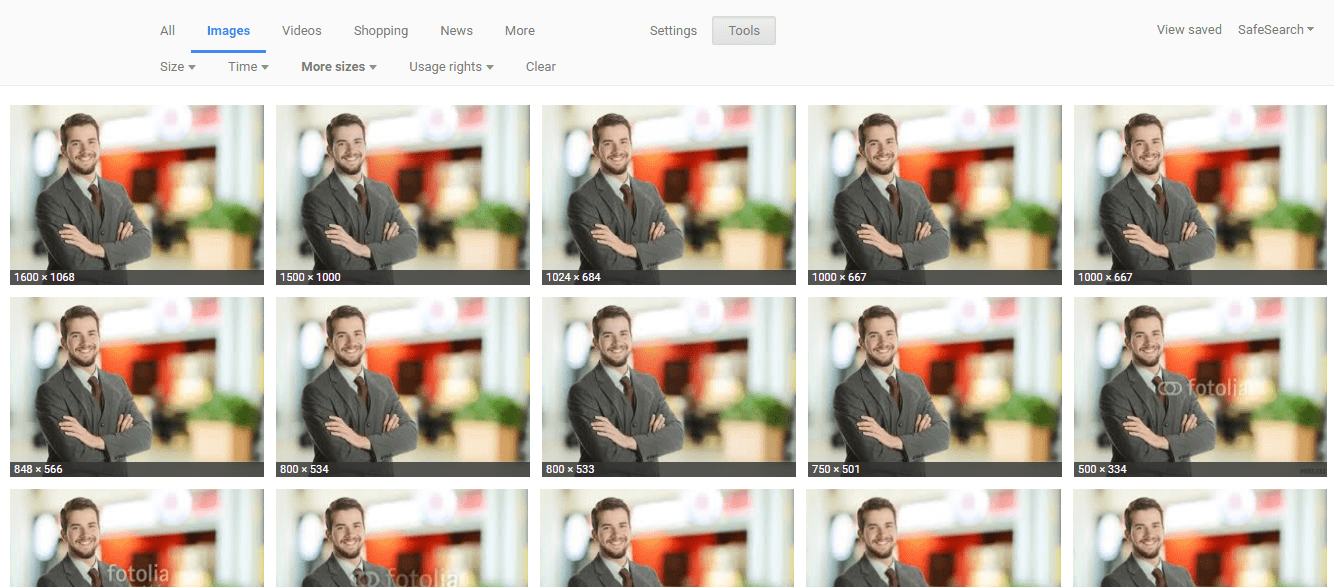
While you may have your stock images perfectly optimized, it won’t have the same impact or potential SEO benefits as an original, high-quality image.
The more original pictures you have, the better experience for the user and the better your odds are of ranking on relevant searches.
4. Beware of Copyright
Regardless of the image files you choose to use, make sure there’s no copyright conflict.
The Postal Service is paying $3.5 million in an image copyright lawsuit. And, Sketchers got sued for $2.5 million.
If Getty, Shutterstock, DepositFiles, or some other stock photo provider owns an image you use, and you don’t have a license to use it, then you’re risking an expensive lawsuit.
Under the Digital Millennium Copyright Act (DMCA), you could be issued a notice if you have violated any copyright issues. If the owner of a piece of content sees their content on your website, they can issue a DMCA Takedown which you must comply with.
Google Images allows you to filter results based on those available for reuse. And, Mindy Weinstein shares 41 different websites to find free images.
5. Customize Image File Names
When it comes to SEO, creating descriptive, keyword-rich file names is absolutely crucial.
Not customizing your image file name is like getting a burrito with nothing in it. It just plain sucks.
Image file names alert Google and other search engine crawlers as to the subject matter of the image.


